Page navigation lesson
To go on with the the basics of the Scolvo script language, in this lesson we extend the functinality of the existing page by adding a button and a deatils page.
The code at start
After finishing the previous lesson, the code should look like as described in the Content of the Scolvo scripts session.
 1menu defaultItem HelloWorld {
 2  item HelloWorld
 3}
 4
 5function onHelloWorld(originId) {
 6  display(HelloWorldPage, {}, originId);
 7}
 8
 9page HelloWorldPage {
10  layout: vertical;
11  template: general;
12  settingsVisible: true;
13  scolvoMenuVisible: true;
14
15  label HelloWorldLabel {
16    template: display1Primary;
17    alignment: center;
18  }
19}
20
21function onHelloWorldPageLoaded(originId) {}
1menu_HelloWorld_label=HelloWorld
2page_HelloWorldPage_HelloWorldLabel_defaultText=Hello world!
Adding a Button
The first step is to add a button to the existing page to be able to open the deatils page. The definition of the HelloWorldPage is simply extended with a spacer element and a button element. These definitions are simply placed below the existing label as shown below in the code example:
 1page HelloWorldPage {
 2  layout: vertical;
 3  template: general;
 4  settingsVisible: true;
 5  scolvoMenuVisible: true;
 6
 7  label HelloWorldLabel {
 8    template: display1Primary;
 9    alignment: center;
10  }
11
12  spacer {
13    span: 20;
14  }
15
16  button NavigationButton {
17    template: primary;
18  }
19
20}
The new button is created with the name NavigationButton, it has only one attribute defined, the template with value “primary” (the button element supports many templates, check the details at API documentation).
Defining the logic
We can define the logic of the button by binding a function to the onClick event, using the createClickSourceEvent() built-in function when displaying the HelloWorldPage in the onHelloWorld() function. Here we simply define what function to be executed when the button is clicked. Now the content of this function should be:
1function onHelloWorld(originId) {
2  var actionEvents = [
3    createClickSourceEvent("NavigationButton", "NavigationButtonClicked")
4  ];
5  display(HelloWorldPage, {}, originId, actionEvents);
6}
The display() function call is extended with the definition of the only action event, what is a Source Event. (The display() function registers all action events when the page is opened.)
From now on when the user clicks on the NavigationButton then the onNavigationButtonClicked function is executed. As next step we have to define this function and its logic. As the goal of the lesson is to open a new deatils page when clicking on the button, a new page object has to be defined too. The page is simple, it contains only a label. Beside the page definintion we write the appropriate onLoaded function too.
 1page DetailPage {
 2  layout: vertical;
 3  template: general;
 4
 5  label DetailPageLabel {
 6    template: display1Primary;
 7    alignment: left;
 8  }
 9}
10
11function onDetailPageLoaded(originId) {}
Finally we can use the new Page object in the onNavigationButtonClicked function.
1function onNavigationButtonClicked(originId) {
2  display(DetailPage, {}, originId);
3}
The code at the end
After performing the changes descibed above, the final form of the mobile.scolvo file should be as defined below:
 1menu defaultItem HelloWorld {
 2  item HelloWorld
 3}
 4
 5function onHelloWorld(originId) {
 6  var actionEvents = [
 7    buildSourceClickedEvent("NavigationButton", "NavigationButtonClicked")
 8  ];
 9  display(HelloWorldPage, {}, originId, actionEvents);
10}
11
12page HelloWorldPage {
13  layout: vertical;
14  template: general;
15  settingsVisible: true;
16  scolvoMenuVisible: true;
17
18  label HelloWorldLabel {
19    template: display1Primary;
20    alignment: left;
21  }
22
23  spacer {
24    span: 20;
25  }
26
27  button NavigationButton {
28    template: primary;
29  }
30}
31
32function onHelloWorldPageLoaded(originId) {}
33
34function onNavigationButtonClicked(originId) {
35  display(DetailPage, {}, originId);
36}
37
38page DetailPage {
39  layout: vertical;
40  template: general;
41
42  label DetailPageLabel {
43    template: display1Primary;
44    alignment: left;
45  }
46}
47
48function onDetailPageLoaded(originId) {}
As we have defined new UI elements, the dictionary file of the application has to be extended with the new keys:
1menu_HelloWorld_label=HelloWorld
2page_HelloWorldPage_headerText=Hello world
3page_HelloWorldPage_HelloWorldLabel_defaultText=Hello world!
4page_HelloWorldPage_NavigationButton_label=Display details
5
6page_DetailPage_headerText=Details
7page_DetailPage_DetailPageLabel_defaultText=Details label
Page navigation screen shots
The UI resulted of the above code on different client types should look as below:
HelloWold page
Using browser with light theme
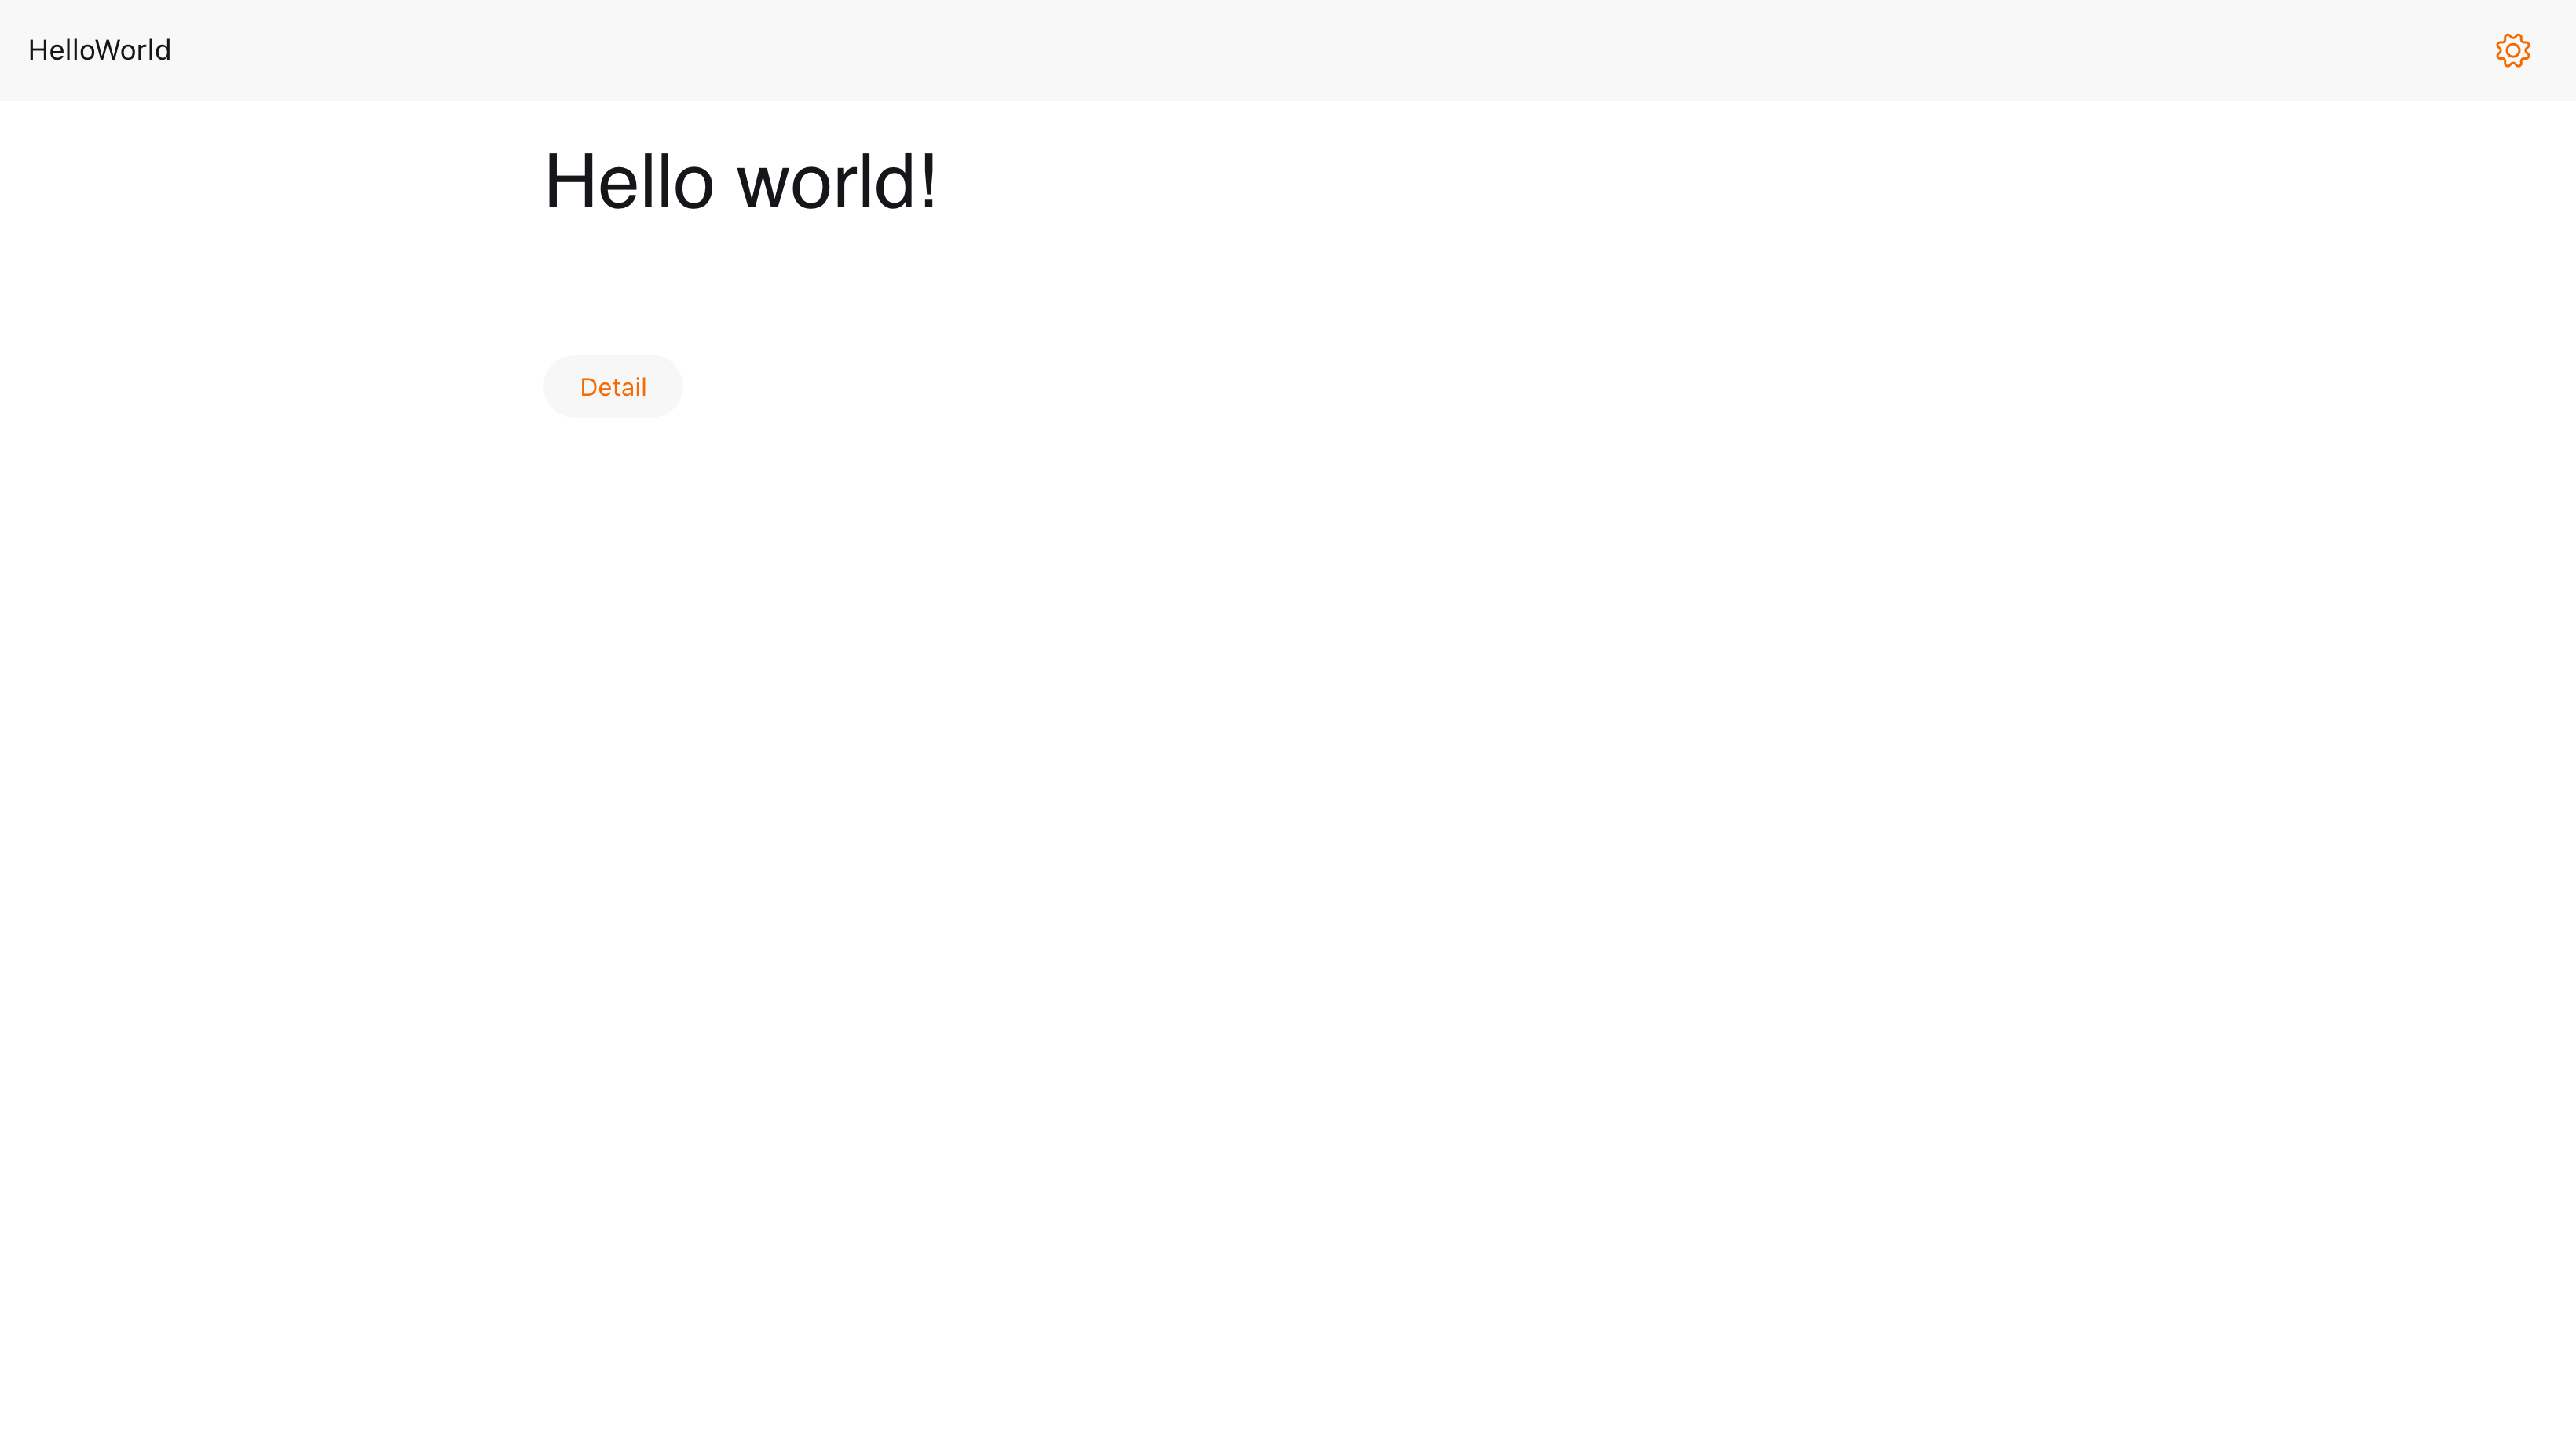
The result of HelloWorld page in browser with light theme
Using browser with dark theme
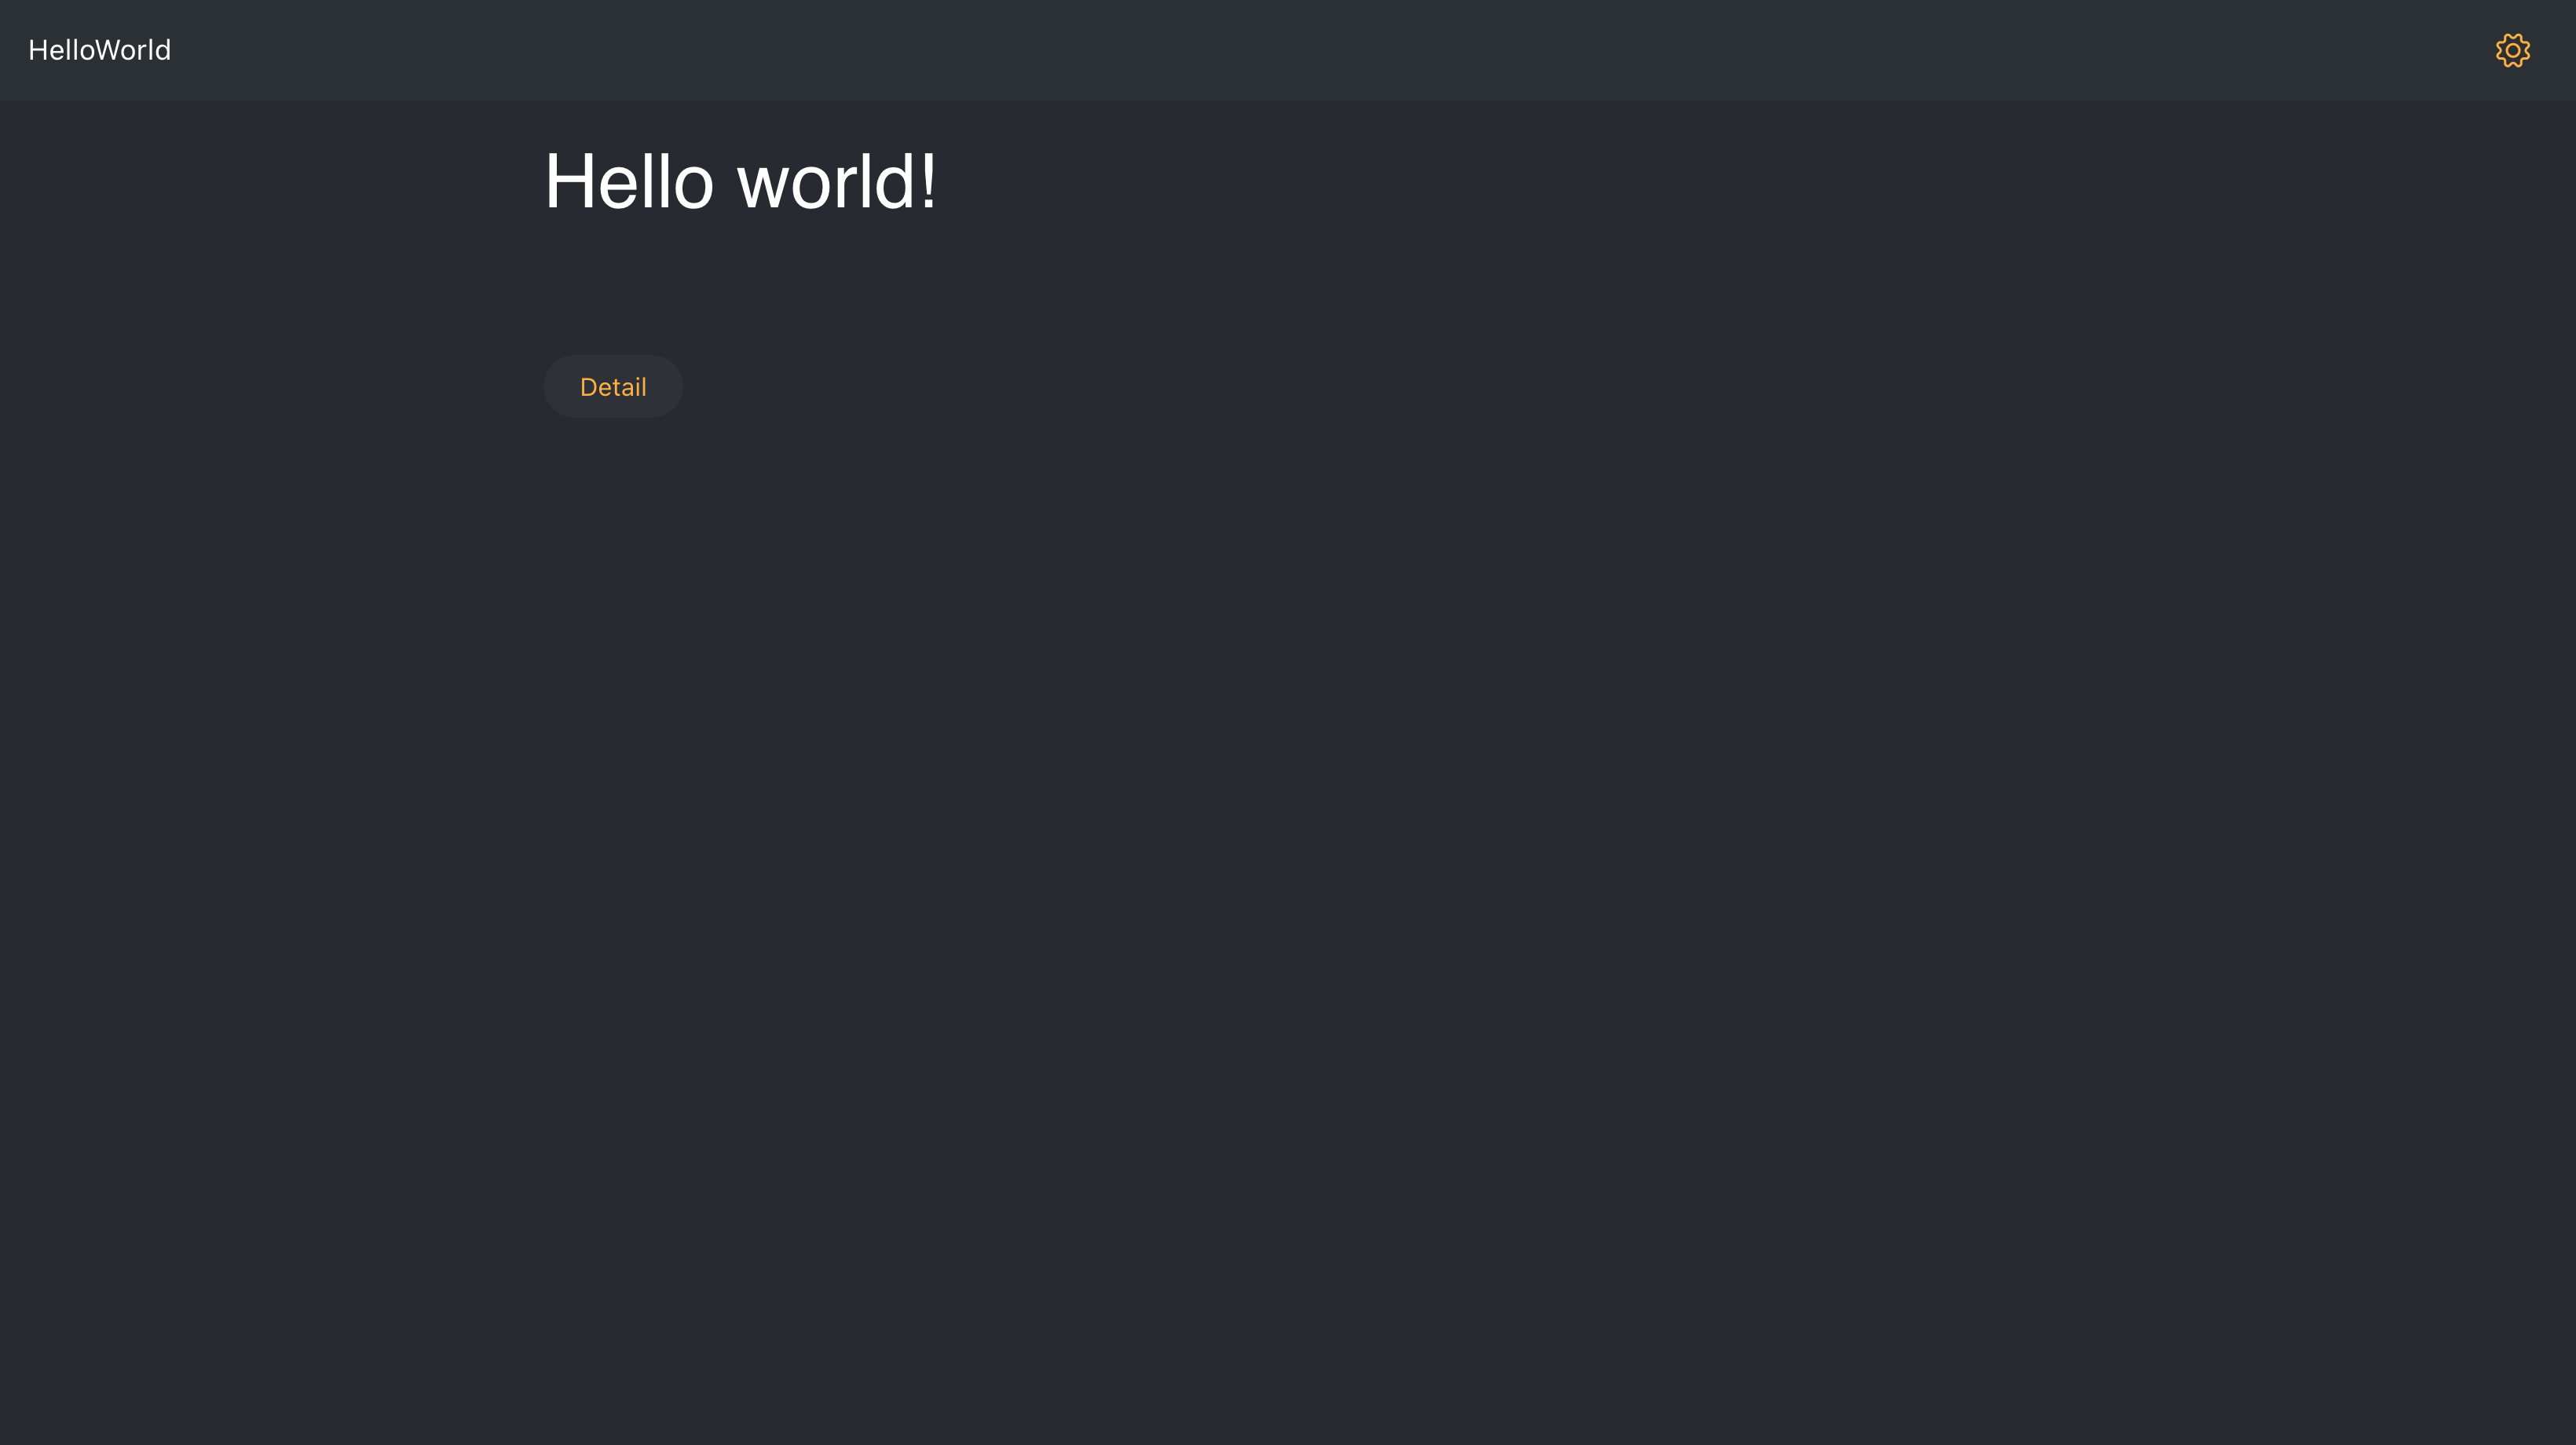
The result of HelloWorld page in browser with dark theme
Using mobile browser with light theme
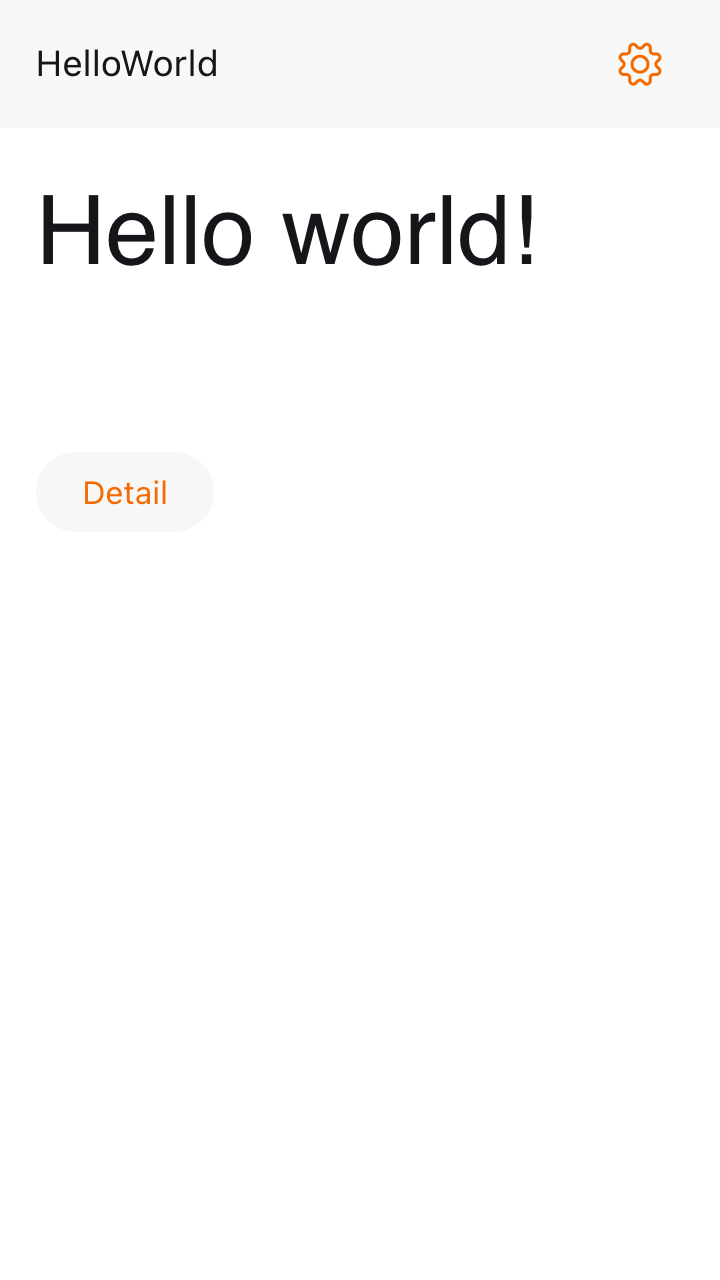
The result of HelloWorld page in mobile browser with light theme
Using mobile browser with dark theme
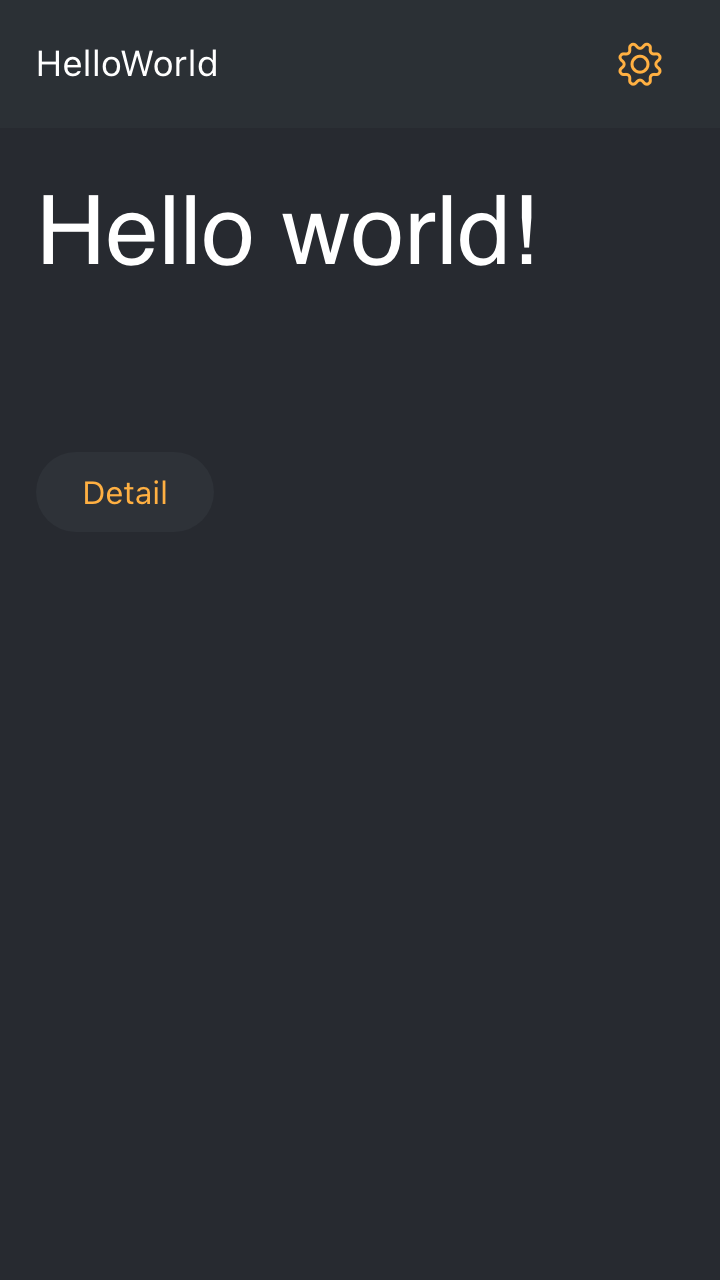
The result of HelloWorld page in mobile browser with dark theme
Using mobile with light theme
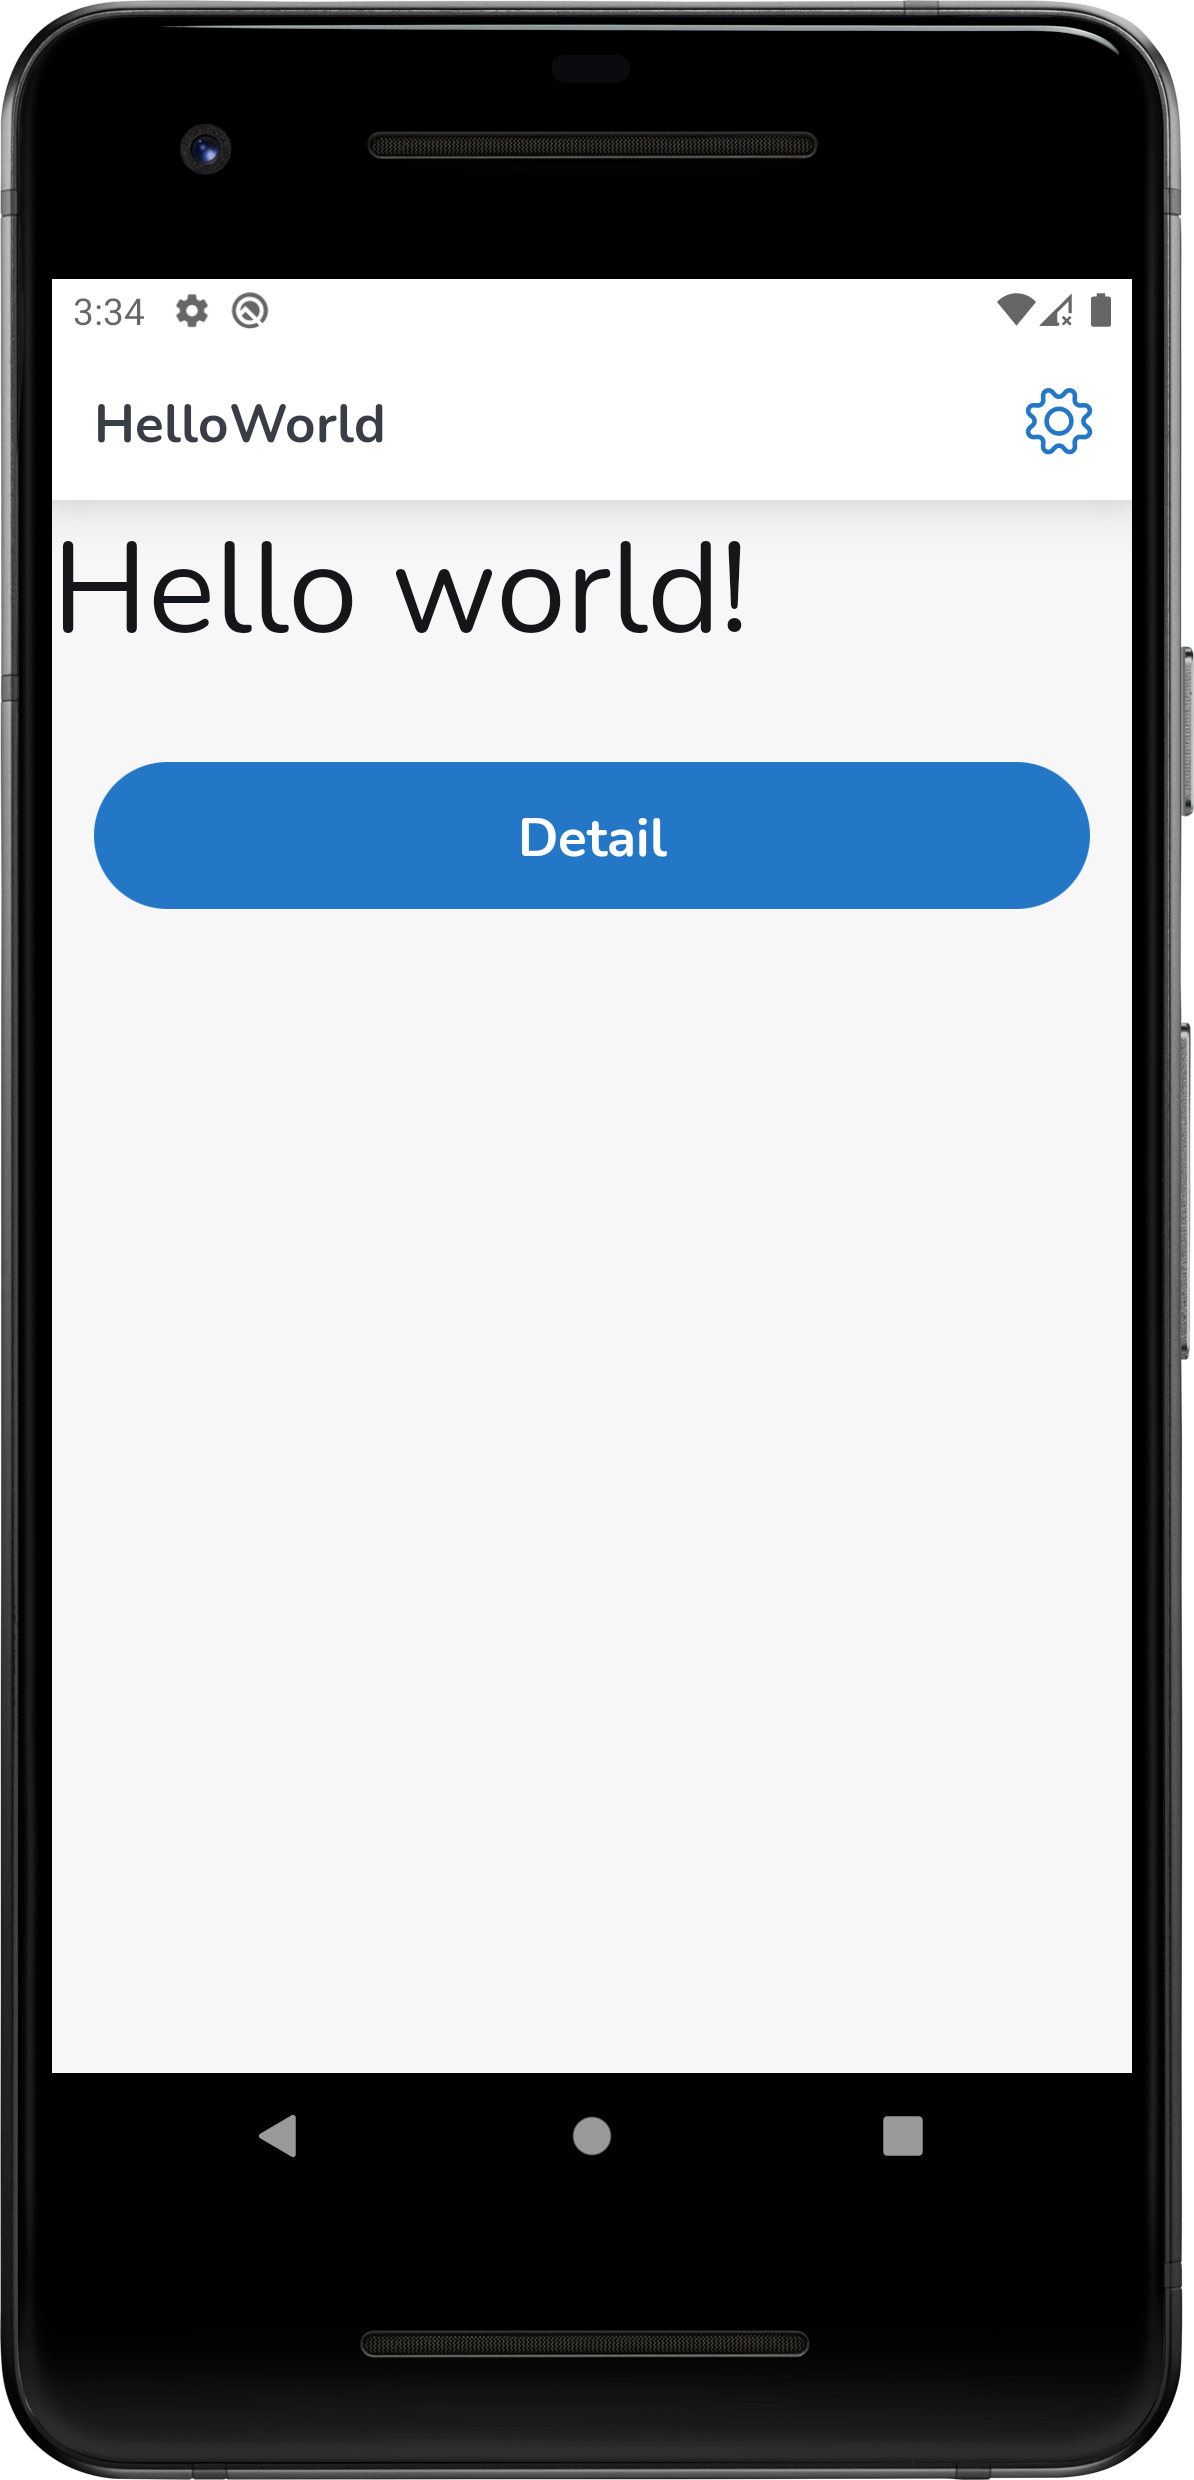
The result of HelloWorld page in mobile with light theme
Using mobile with dark theme
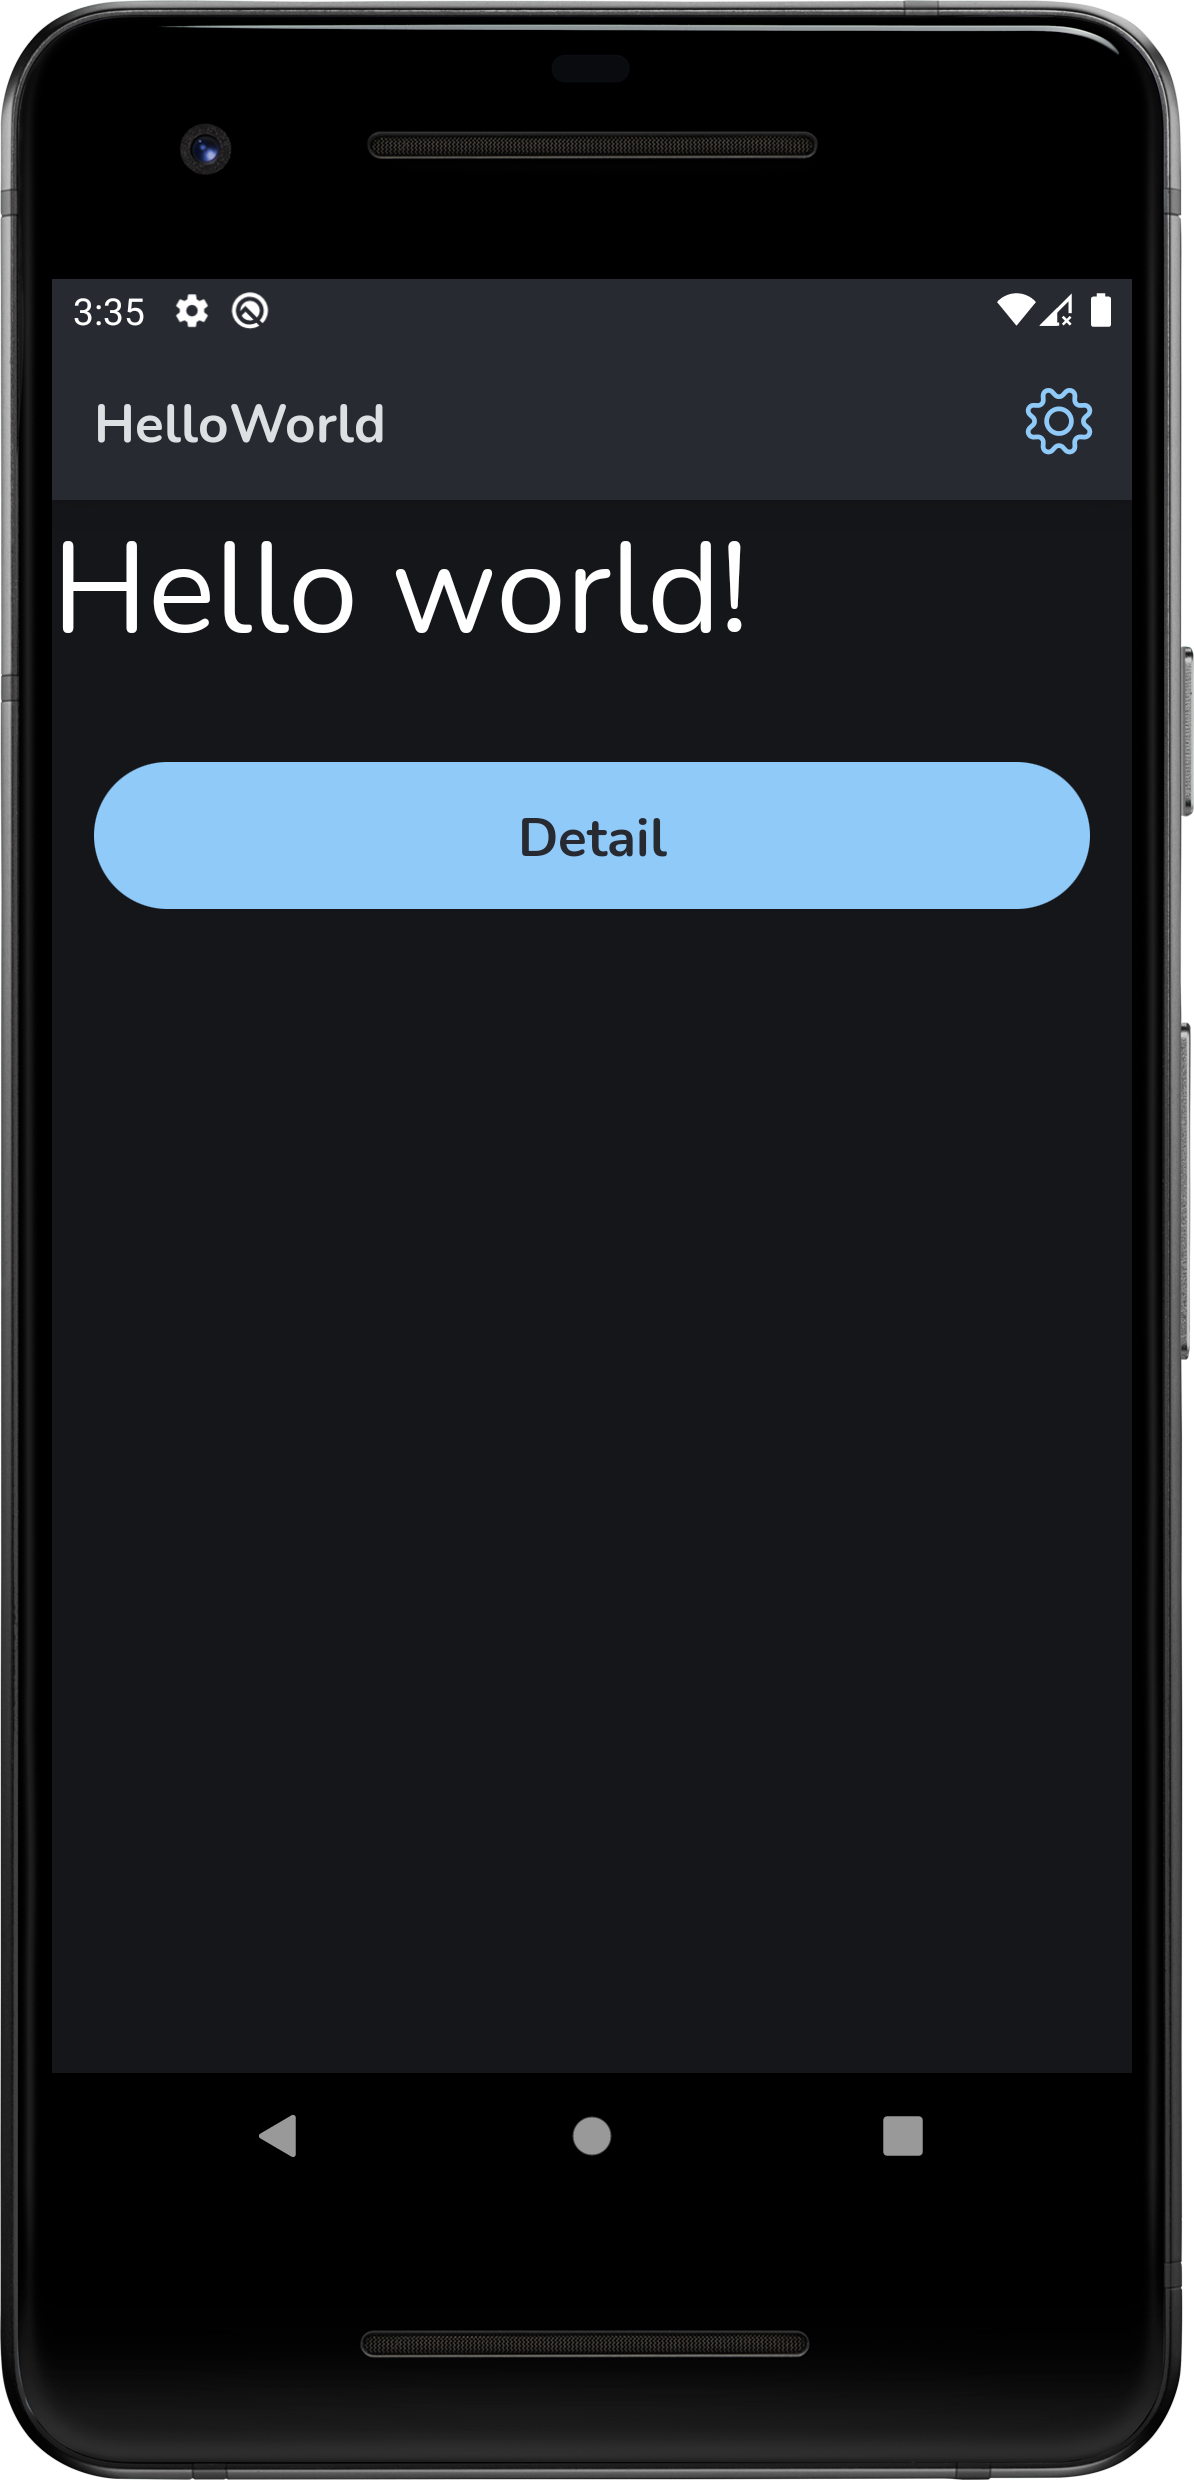
The result of HelloWorld page in mobile with dark theme
Detail page
Using browser with light theme
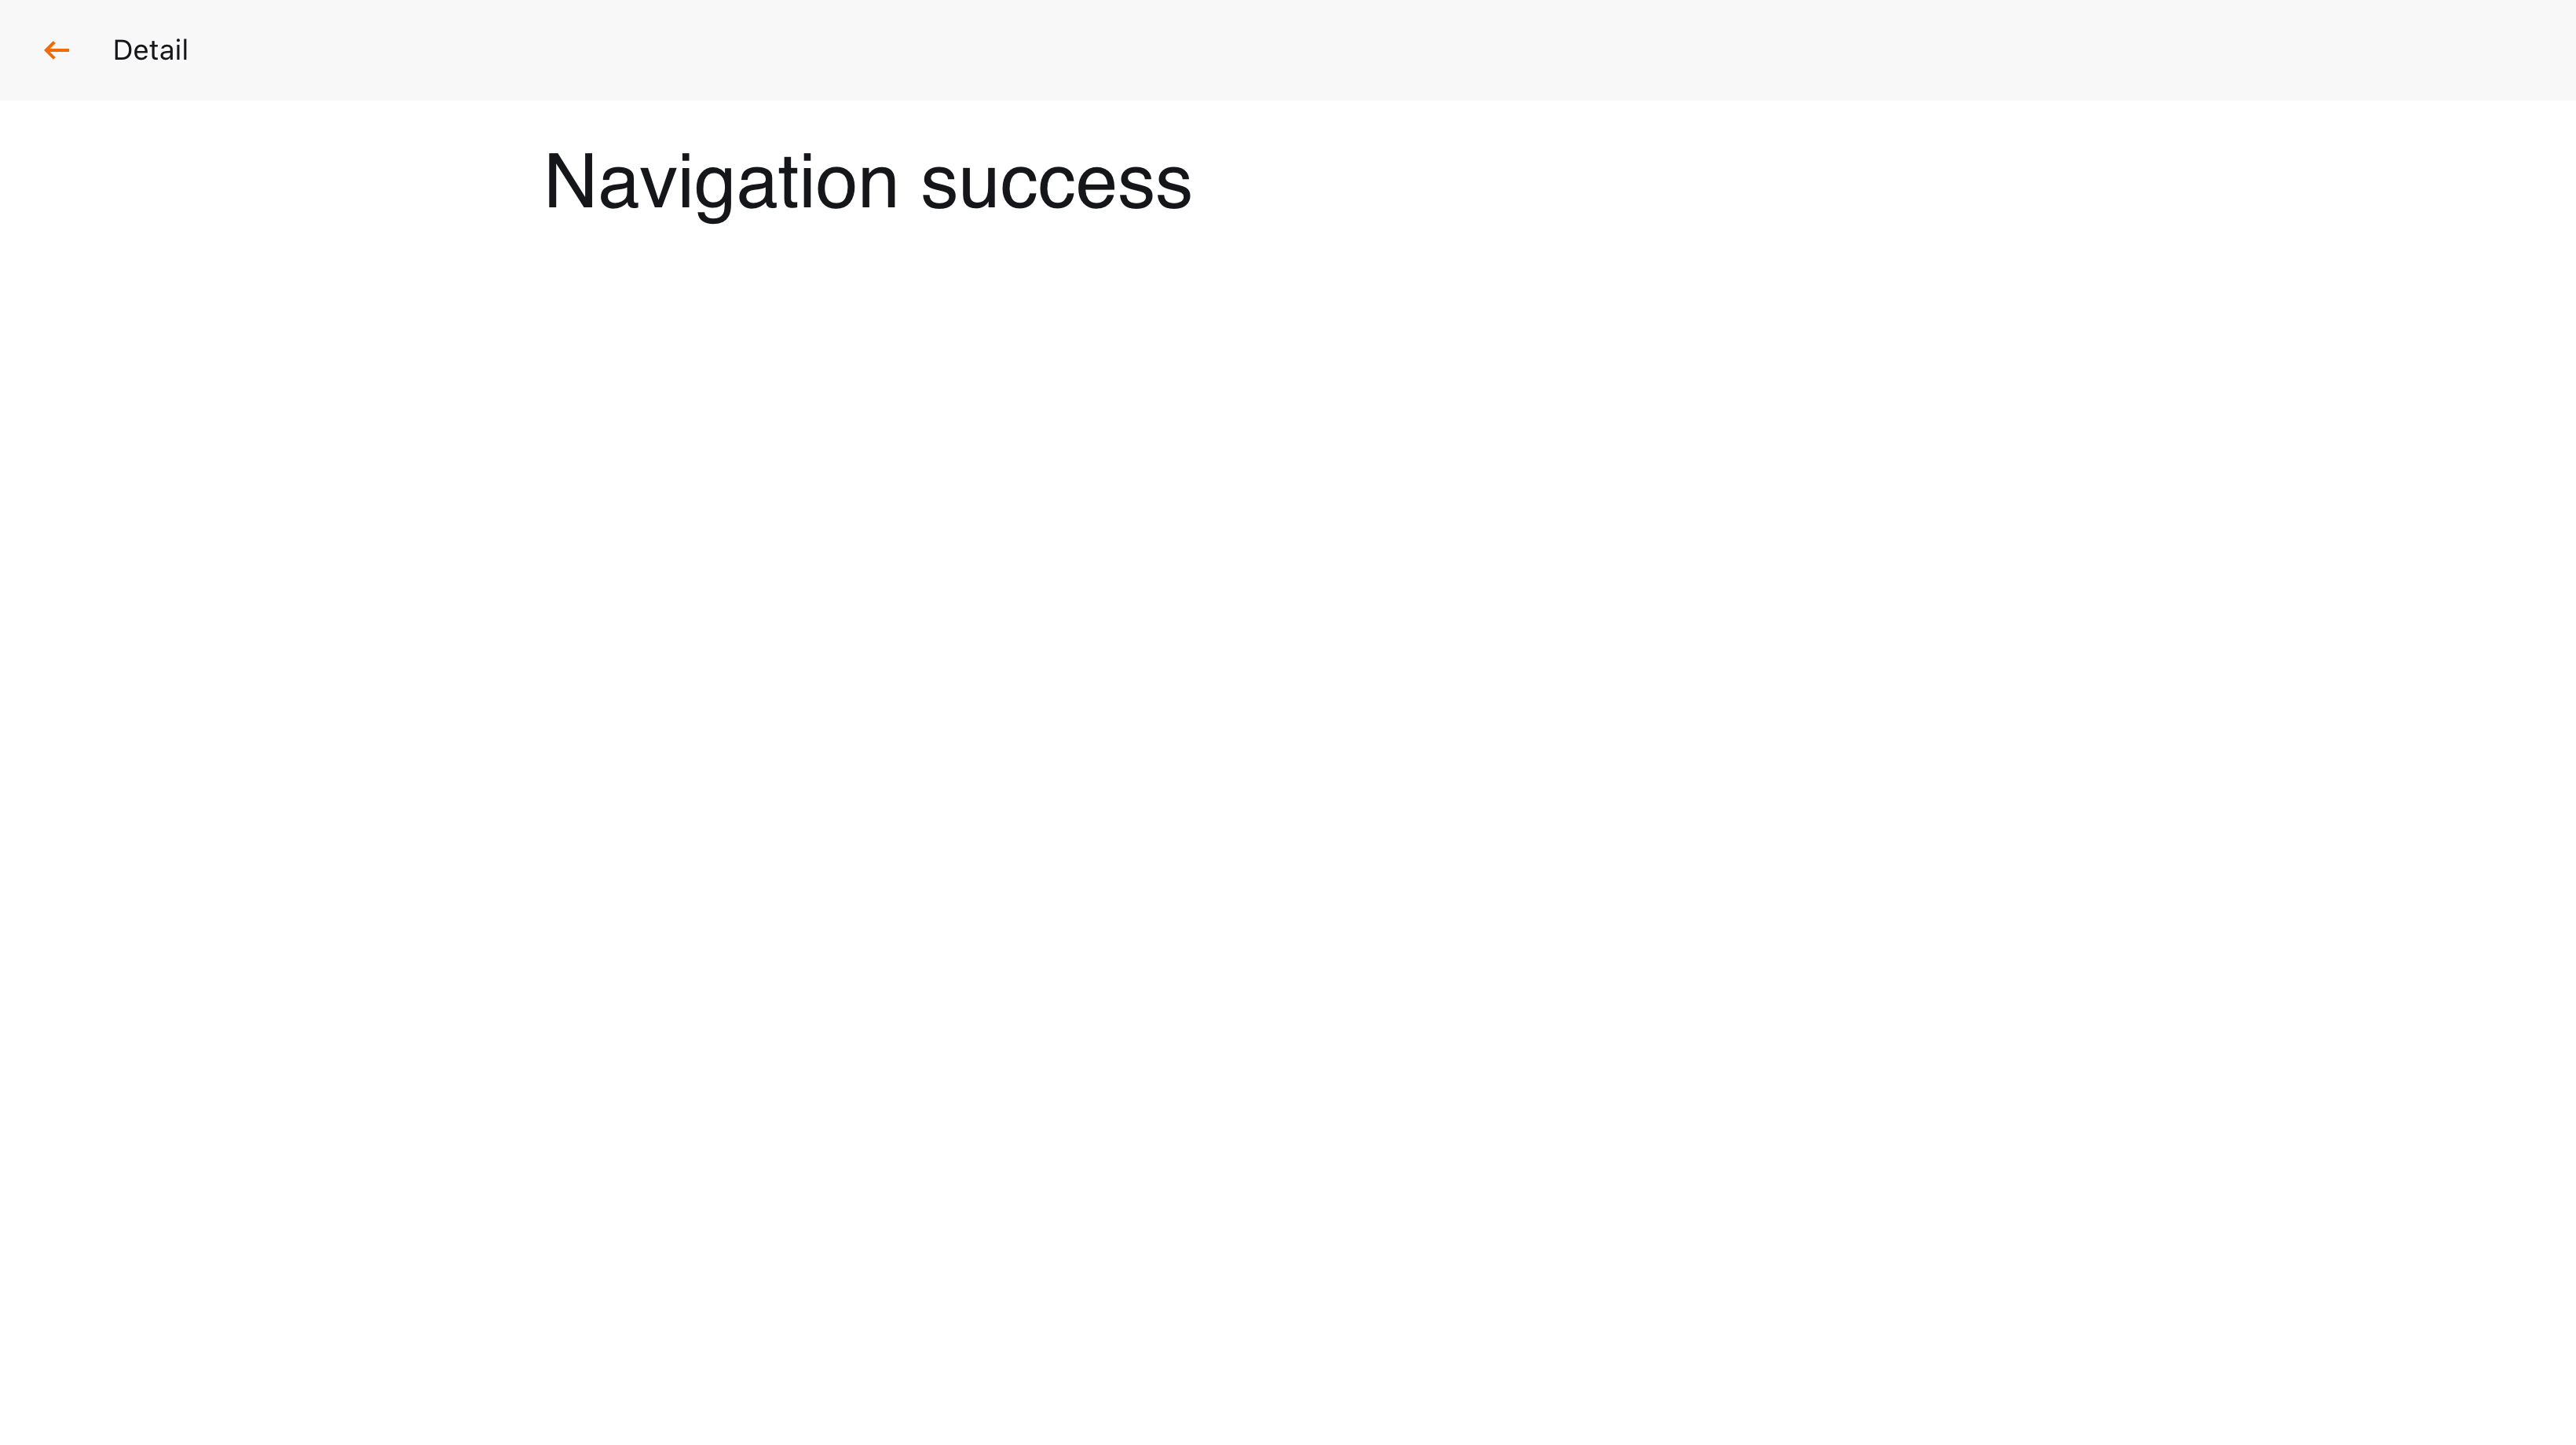
The result of Detail page in browser with light theme
Using browser with dark theme
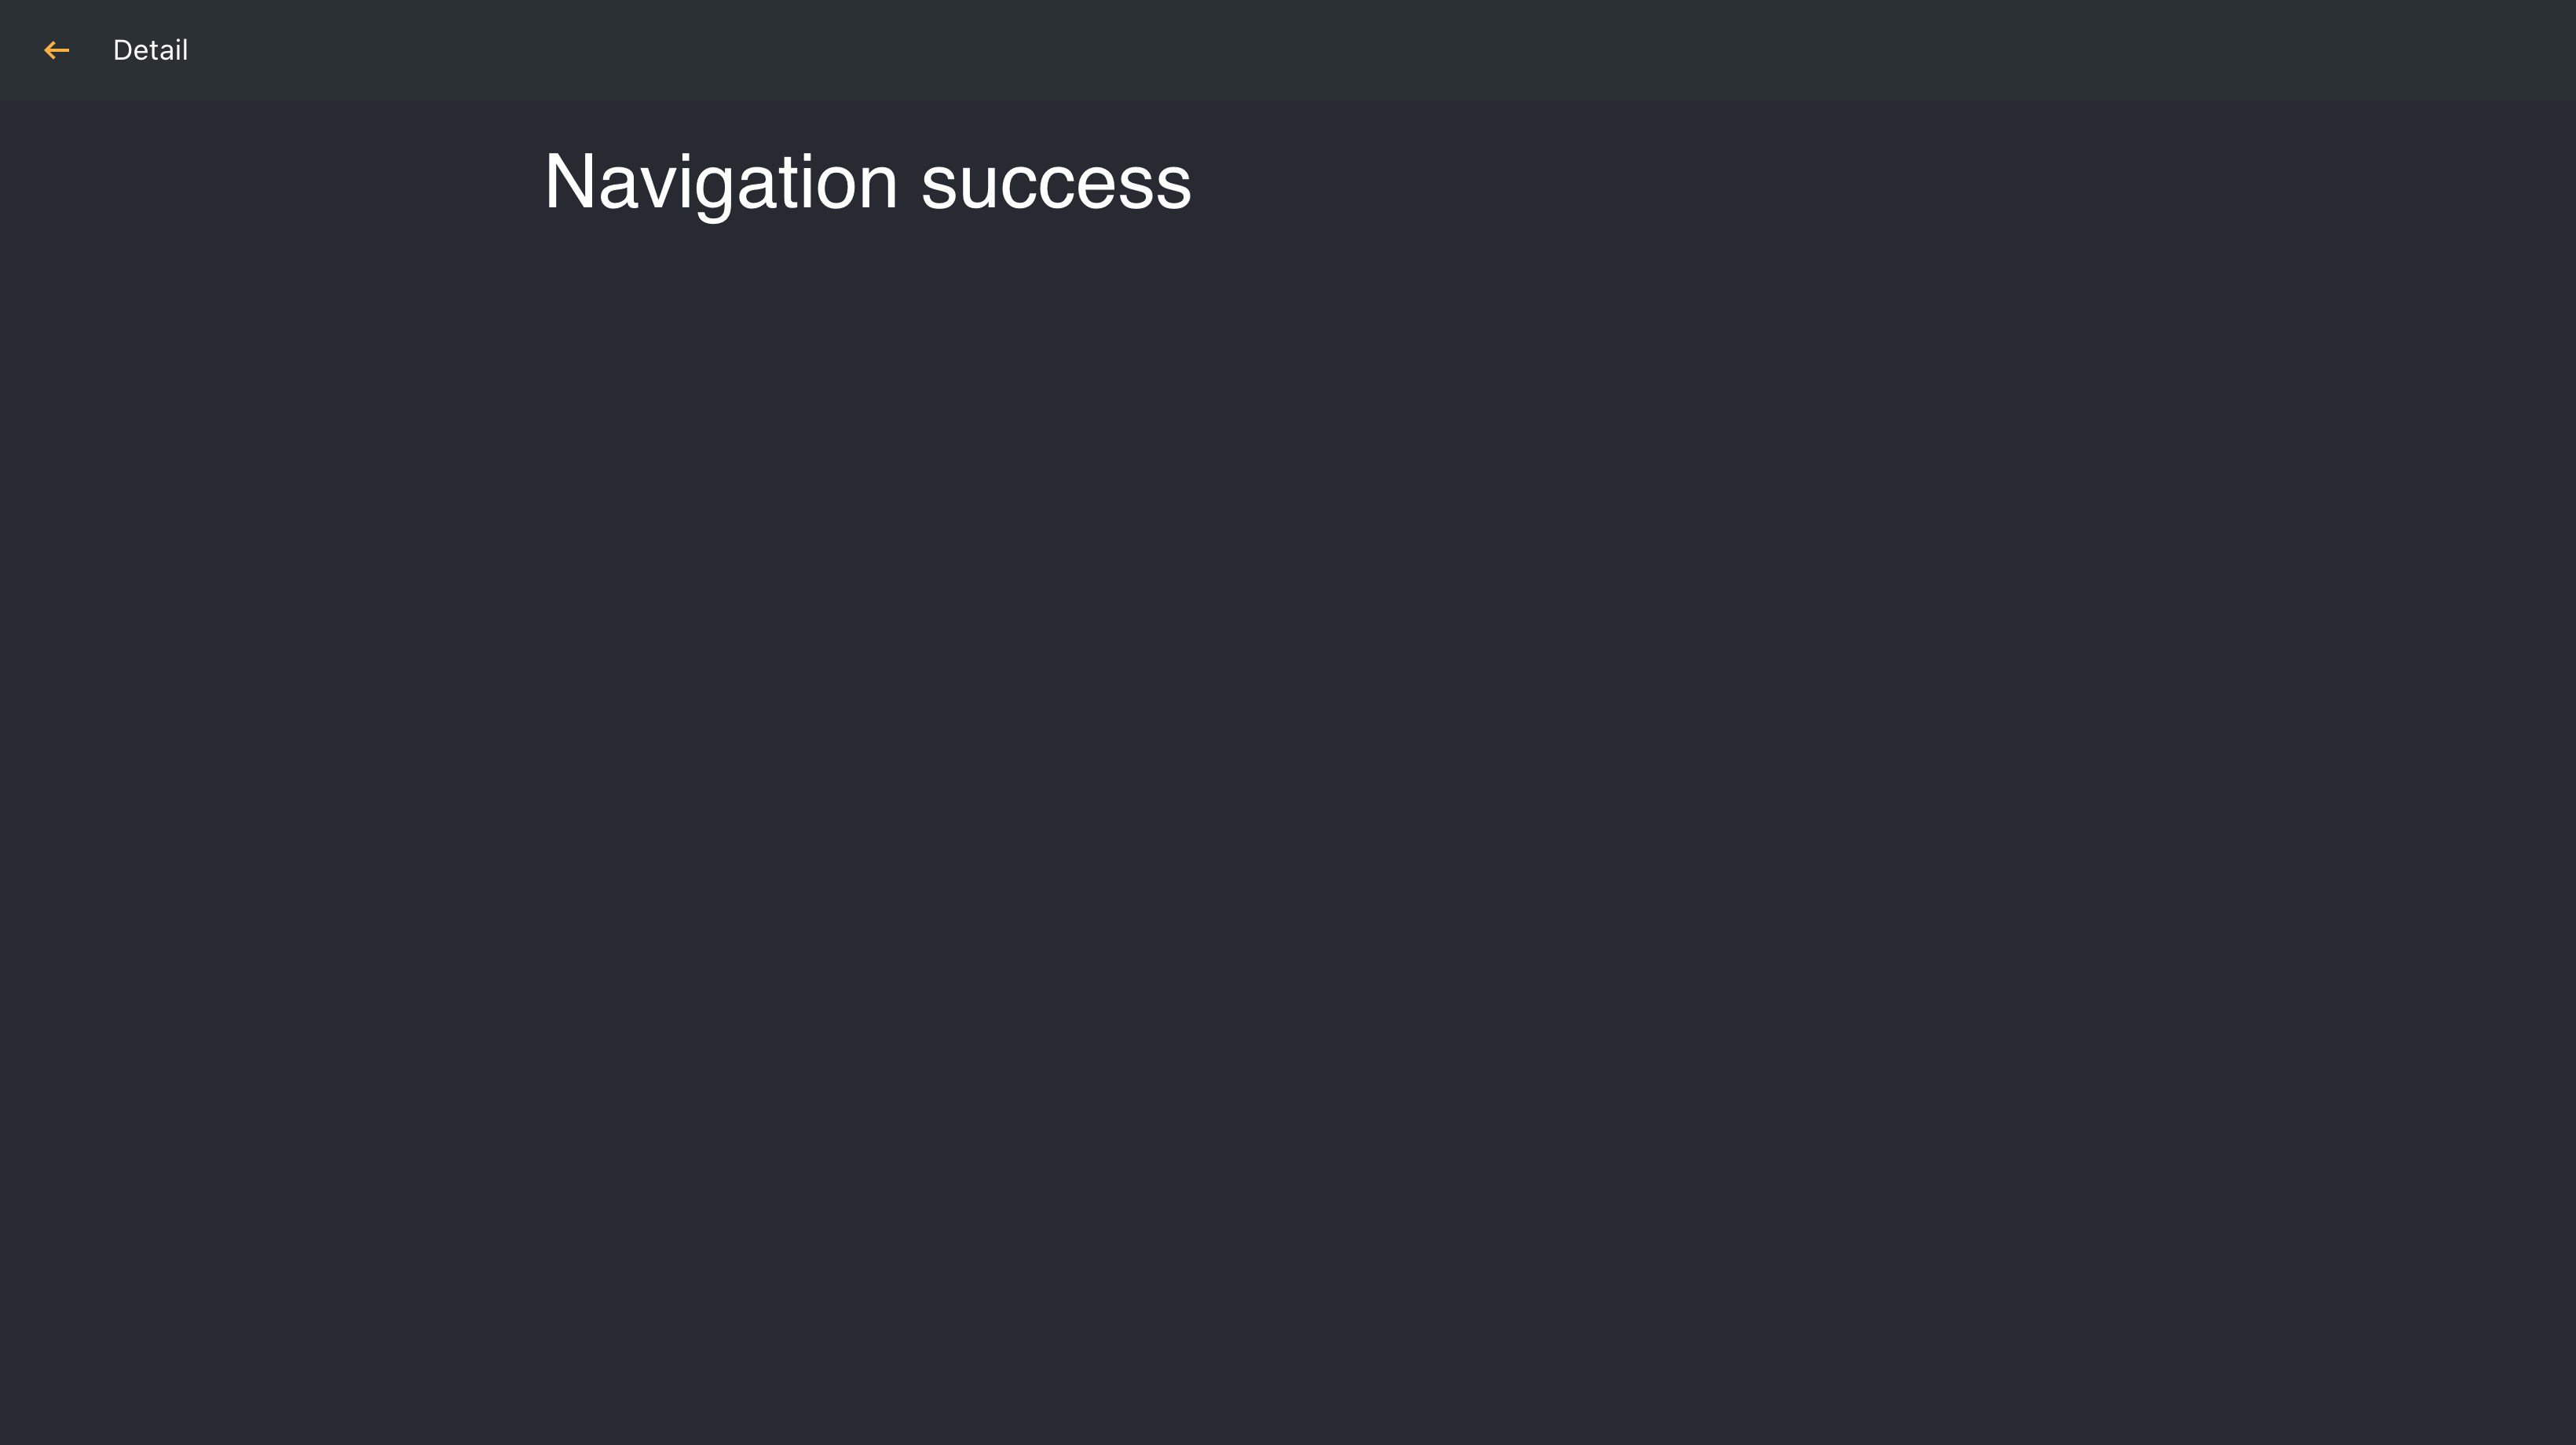
The result of Detail page in browser with dark theme
Using mobile browser with light theme
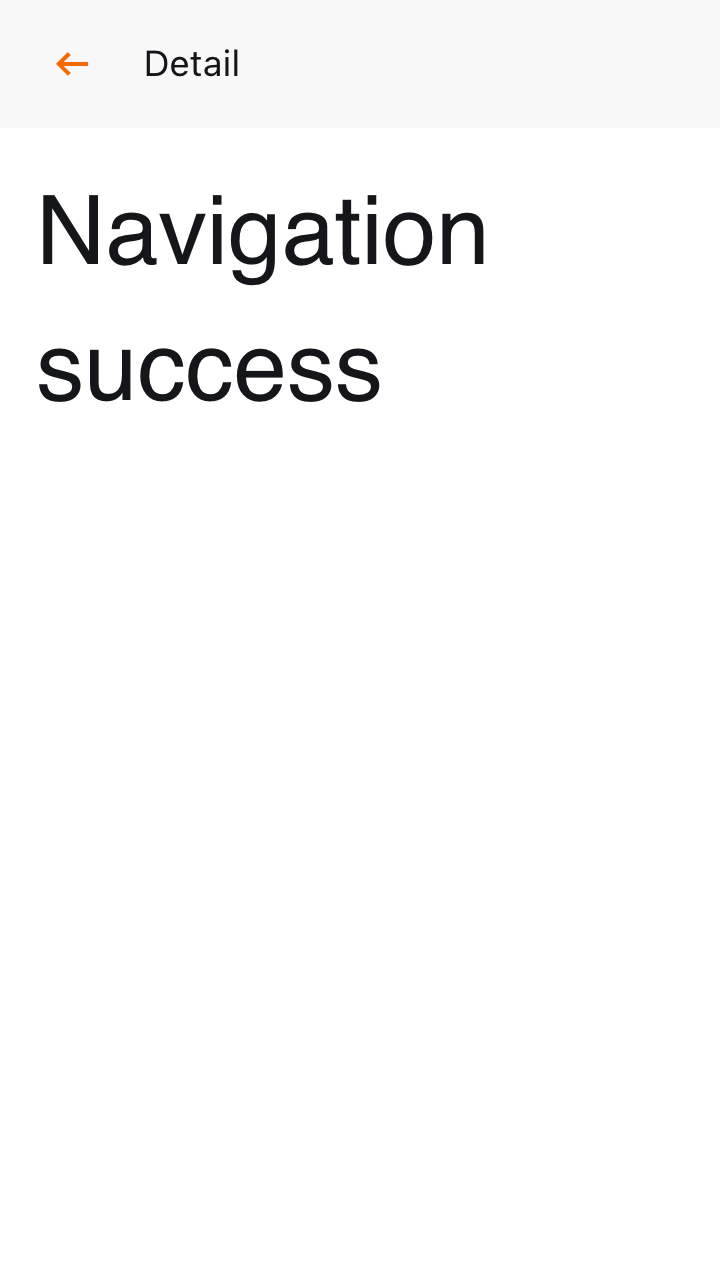
The result of Detail page in mobile browser with light theme
Using mobile browser with dark theme
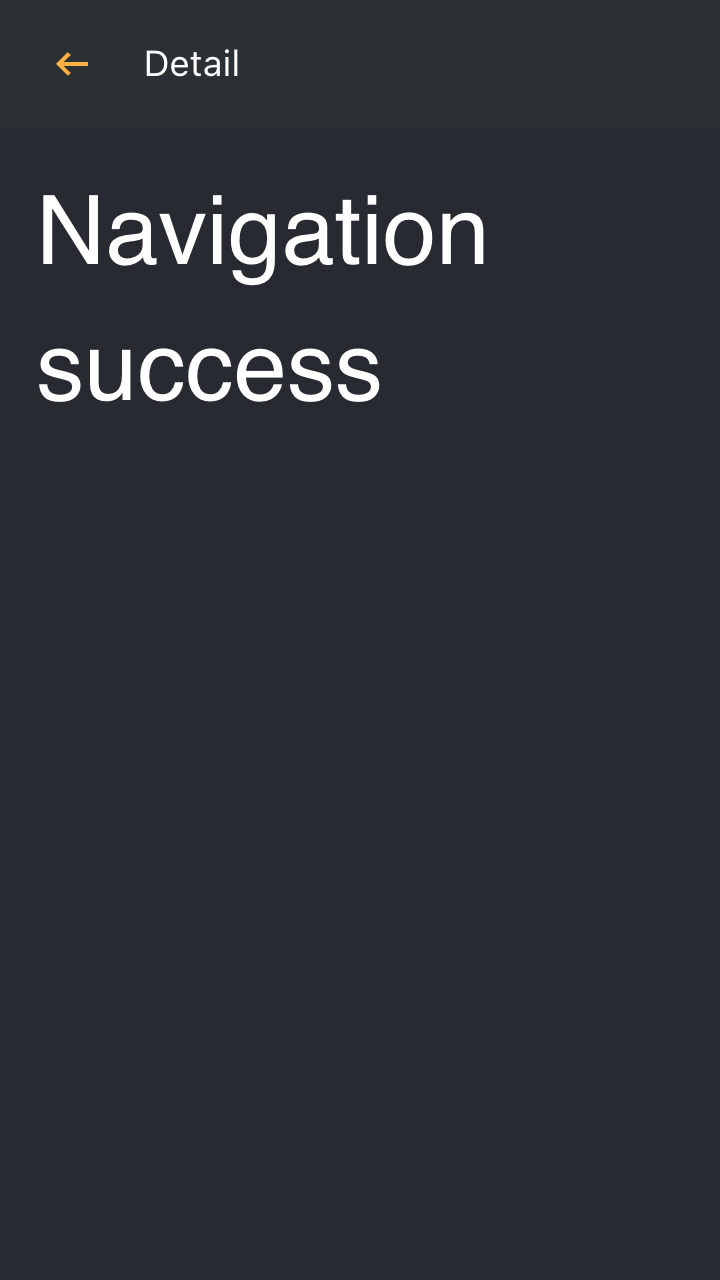
The result of Detail page in mobile browser with dark theme
Using mobile with light theme
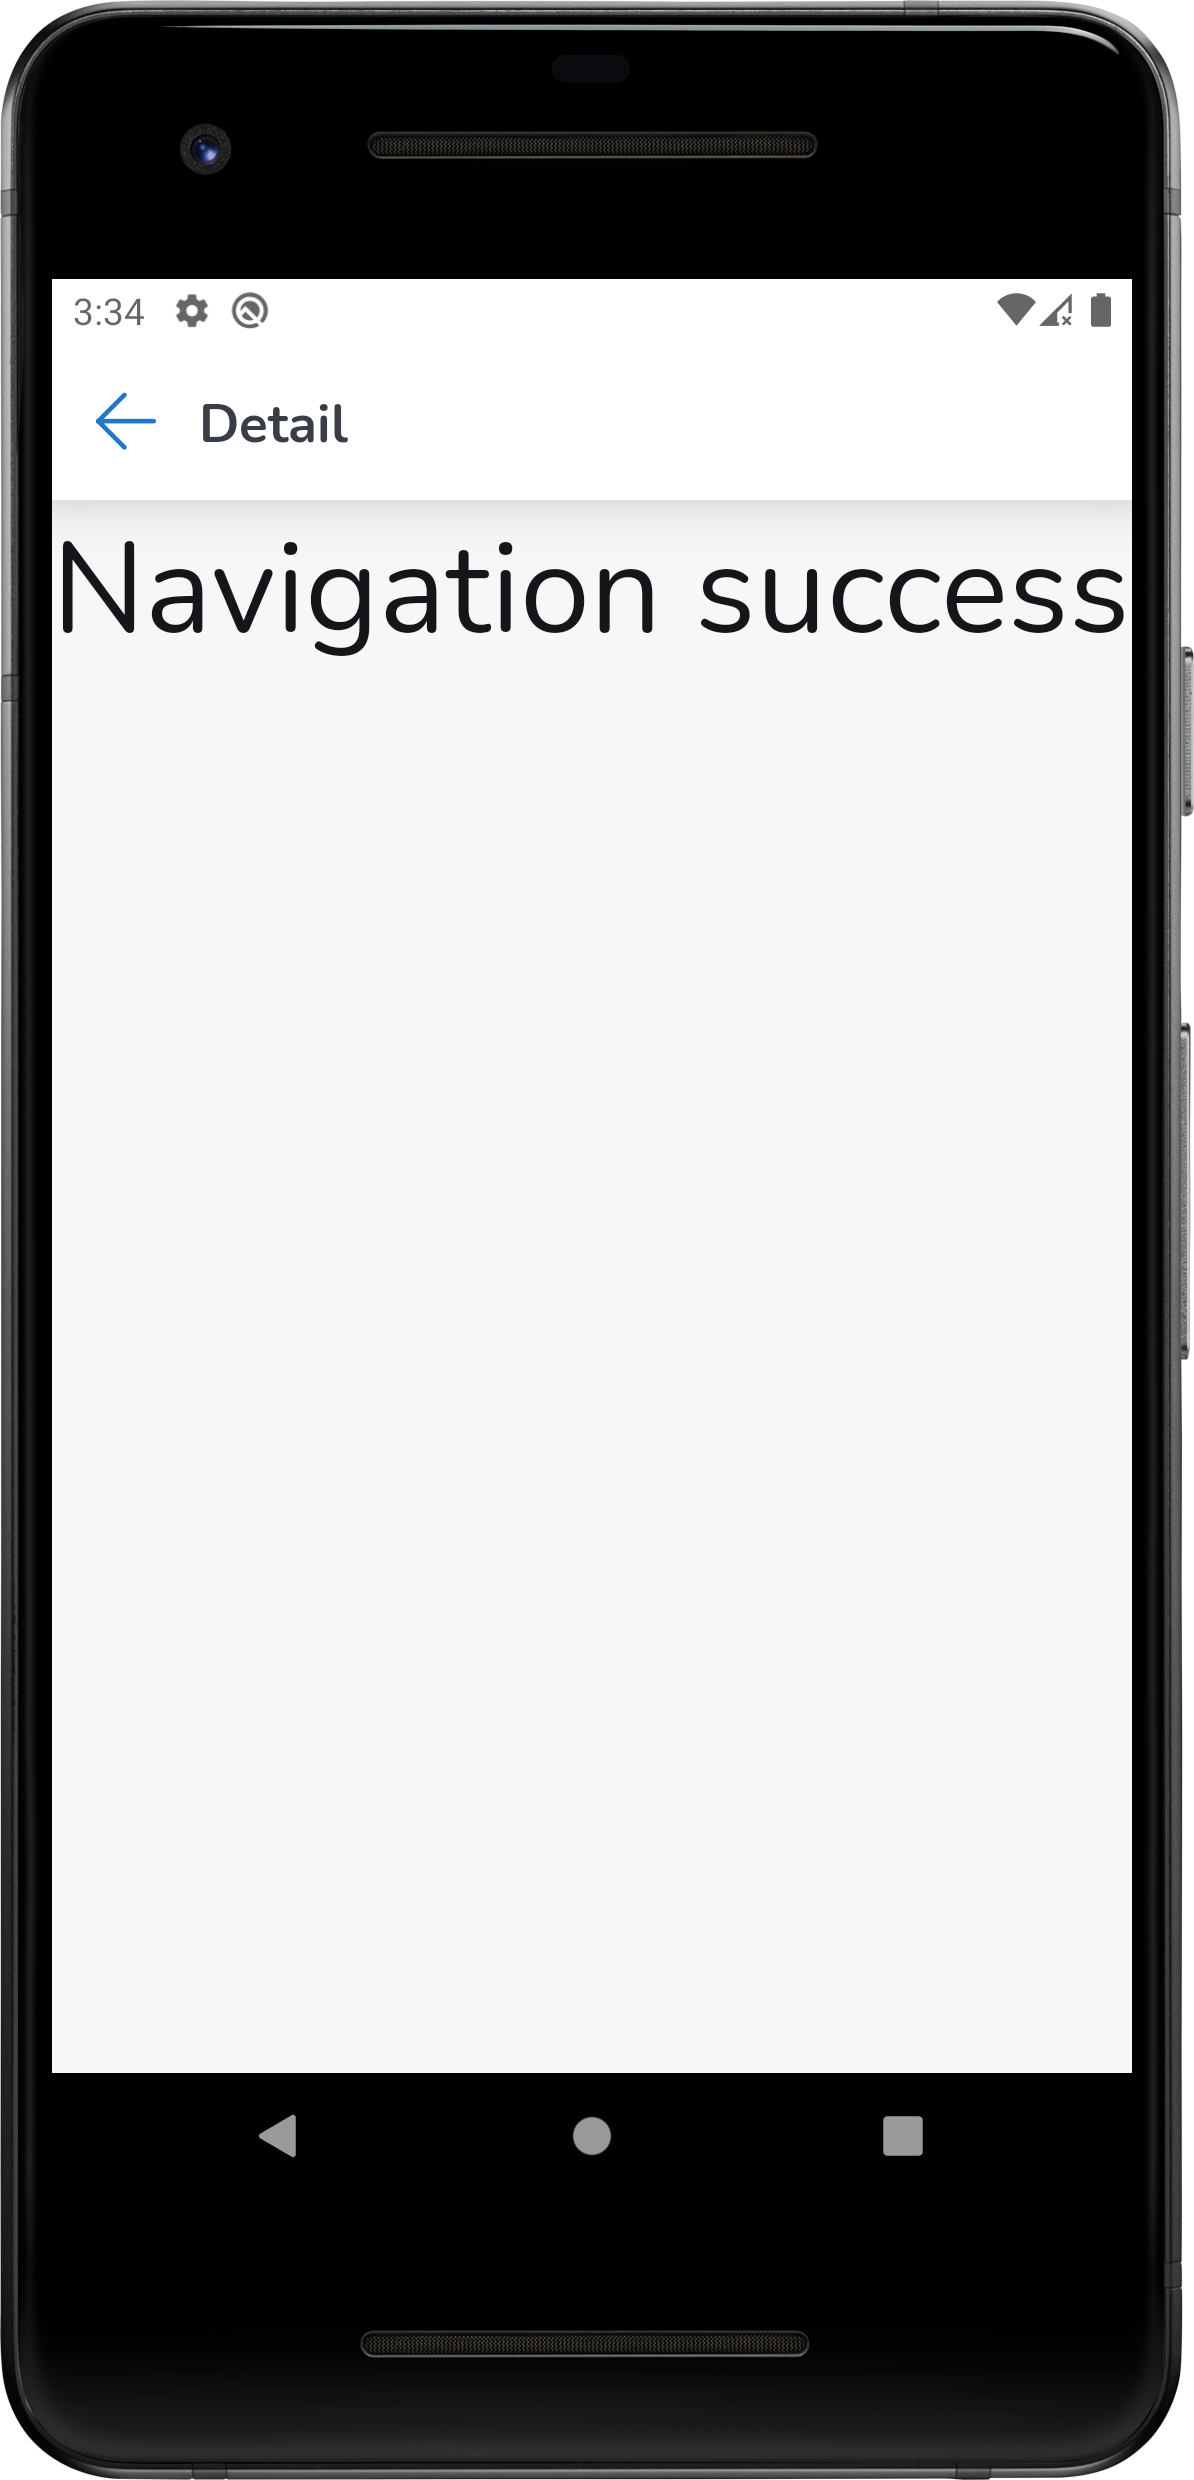
The result of Detail page in mobile with light theme
Using mobile with dark theme
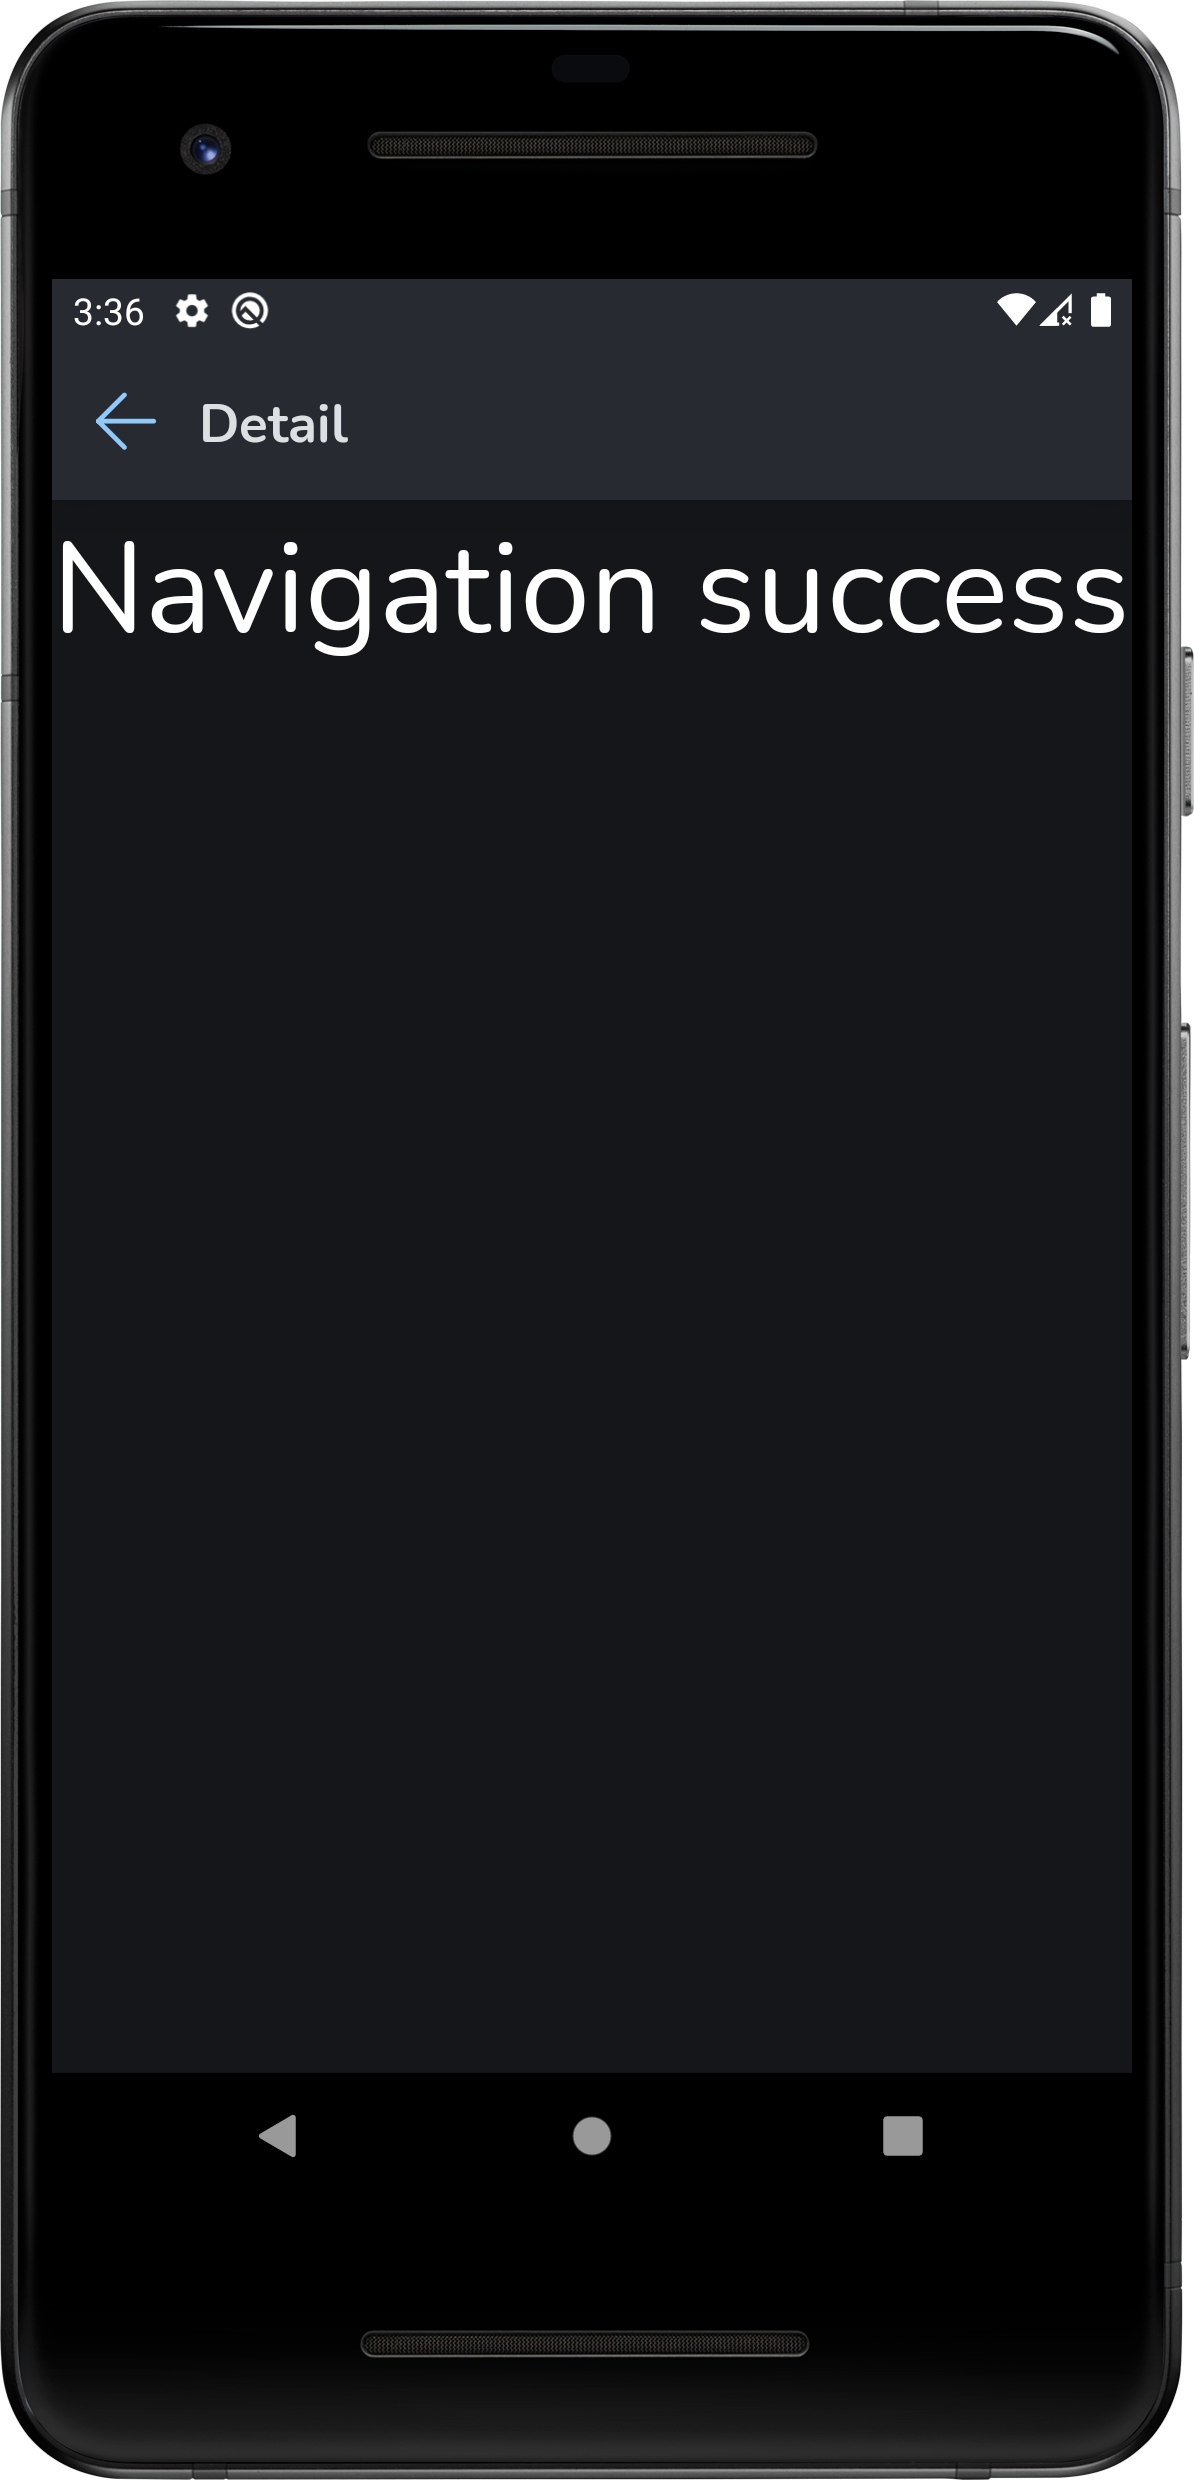
The result of Detail page in mobile with dark theme